Calibration of spectrophotometers for 8/d reflection
Integrating spheres are used as the reflection measuring optics within many commercially available spectrophotometers. The 8 / d measuring geometry is the usual choice for scattering materials. Here, the sample is illuminated with a beam at 8° incidence angle and the total diffuse reflected radiation is measured.
A reflection measurement represents the proportion of incident radiation that is returned by a surface. Therefore, to measure the reflectance, spectrophotometers must first determine the 100% level of the incident radiation.
Need for 8/d Calibration Standards
Spectrophotometers offering 8 / d reflection measurement geometry require diffuse reflection calibration standards. Common calibration standards are either made of pressed barium sulfate powder or synthetic materials. The synthetic material is much more robust and can be cleaned in case of contamination by reworking the reflection surface. In addition, these PTFE-based white plastics offer a wide usable spectral range from 250 nm to 2400 nm.
The reflectance of the materials used is not constant cross their usable spectral range. Therefore, a calibration of the spectral reflectance is required. Calibration is performed by comparing the calibration standard with a transfer standard. The calibration of the transfer standard must be traceable to a national metrology institute.
The use of so-called working standards is recommended for the routine calibration of spectrophotometers. The calibration of working standards is carried out by the user of the spectrophotometer for which the transfer standard is used as the reference. With at least three working standards it can be ensured by comparative measurements that the reflection properties of the working standards have not changed over time.
The calibration standard must completely cover the measuring aperture of the integrating sphere for calibration. When attaching the standard to the measurement port, its surface must not be pressed in or polished in order to rule out later incorrect measurements due to shadowing in the recesses or gloss from the polished surfaces. When not in use, the reflection standard should be sealed in a light- and dust-tight manner.
Reference Standard Products
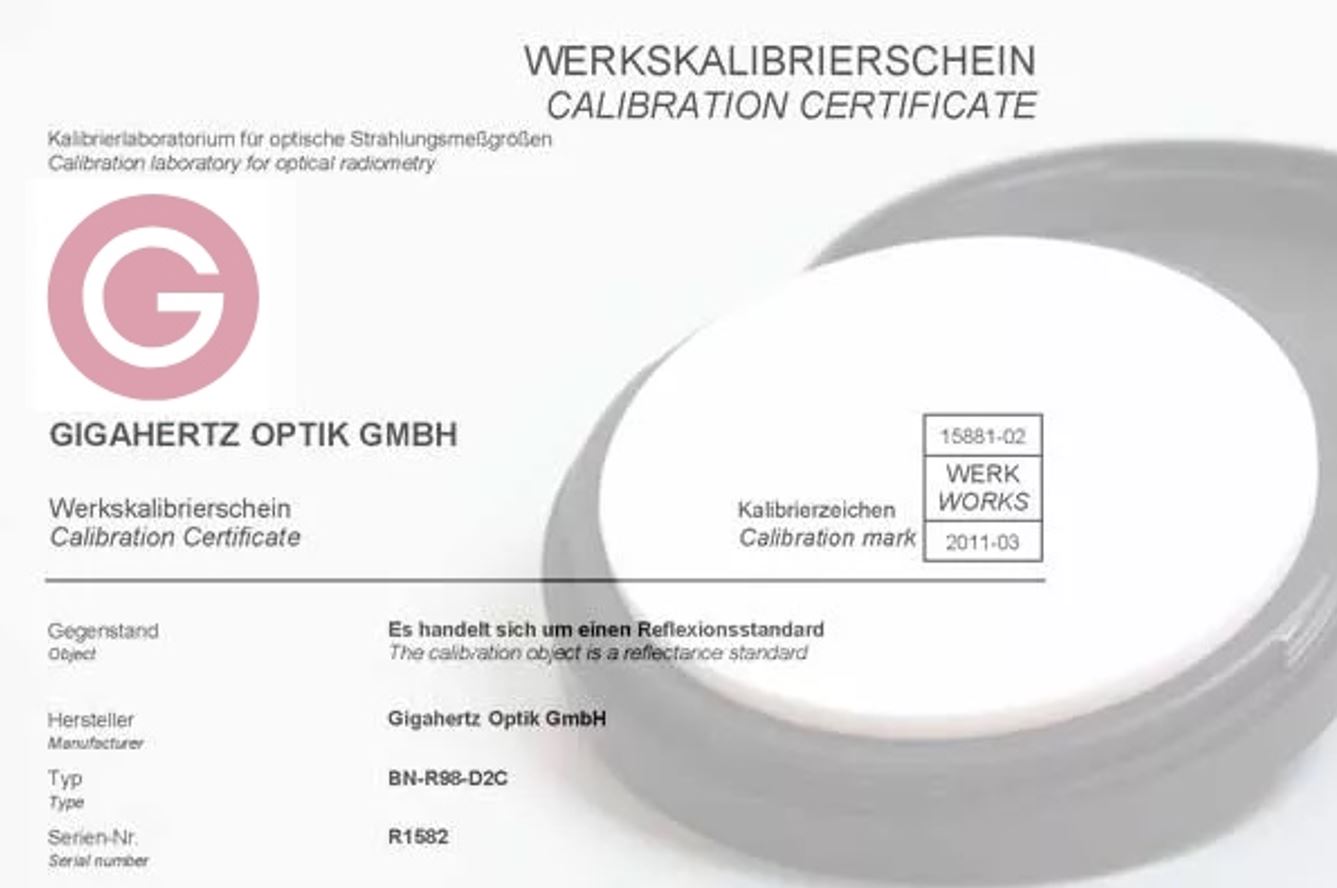
With the BN-R98-D2 Gigahertz Optik GmbH offers a reflection standard made of the synthetic material ODM98. Its diameter is 2 "or 50.8 mm. The housing can be closed with a quick release, light-tight cap. The calibration of the spectral reflectance in the spectral range from 250 nm to 2400 nm is carried out by the Calibration Laboratory for Optical Radiation Measurements of Gigahertz-Optik GmbH. Also grey scale reflection standards are offered, see our ODMP.