Optical Radiation Calibration Laboratory
DAkkS accreditation (ISO 17025 German Accreditation Body GmbH,
D-K-15047-01-00) - Enabling Accuracy!
Gigahertz-Optik’s accredited test and calibration laboratory has been in operation since 1993 and is a primary cornerstone of our business. Achieving and maintaining accreditation takes a lot of effort, technical know-how and expense. This is especially true when the accrediting body is on a high level, like DAkkS here in Germany.
No matter how well-made, a measurement device will only be as accurate as its calibration allows. Precision, in terms of repeatability and reproducibility, relies on the lab’s technical capability and good lab practices. One of the goals of accreditation is to ensure the lab’s stated measurement uncertainties are real and are maintained through regular audits and interlaboratory comparison.
ISO 17025 accreditation mandates that the personnel performing the work are technically competent and properly trained on an ongoing basis. This is supported through automated processes where possible and employing proprietary software solutions.
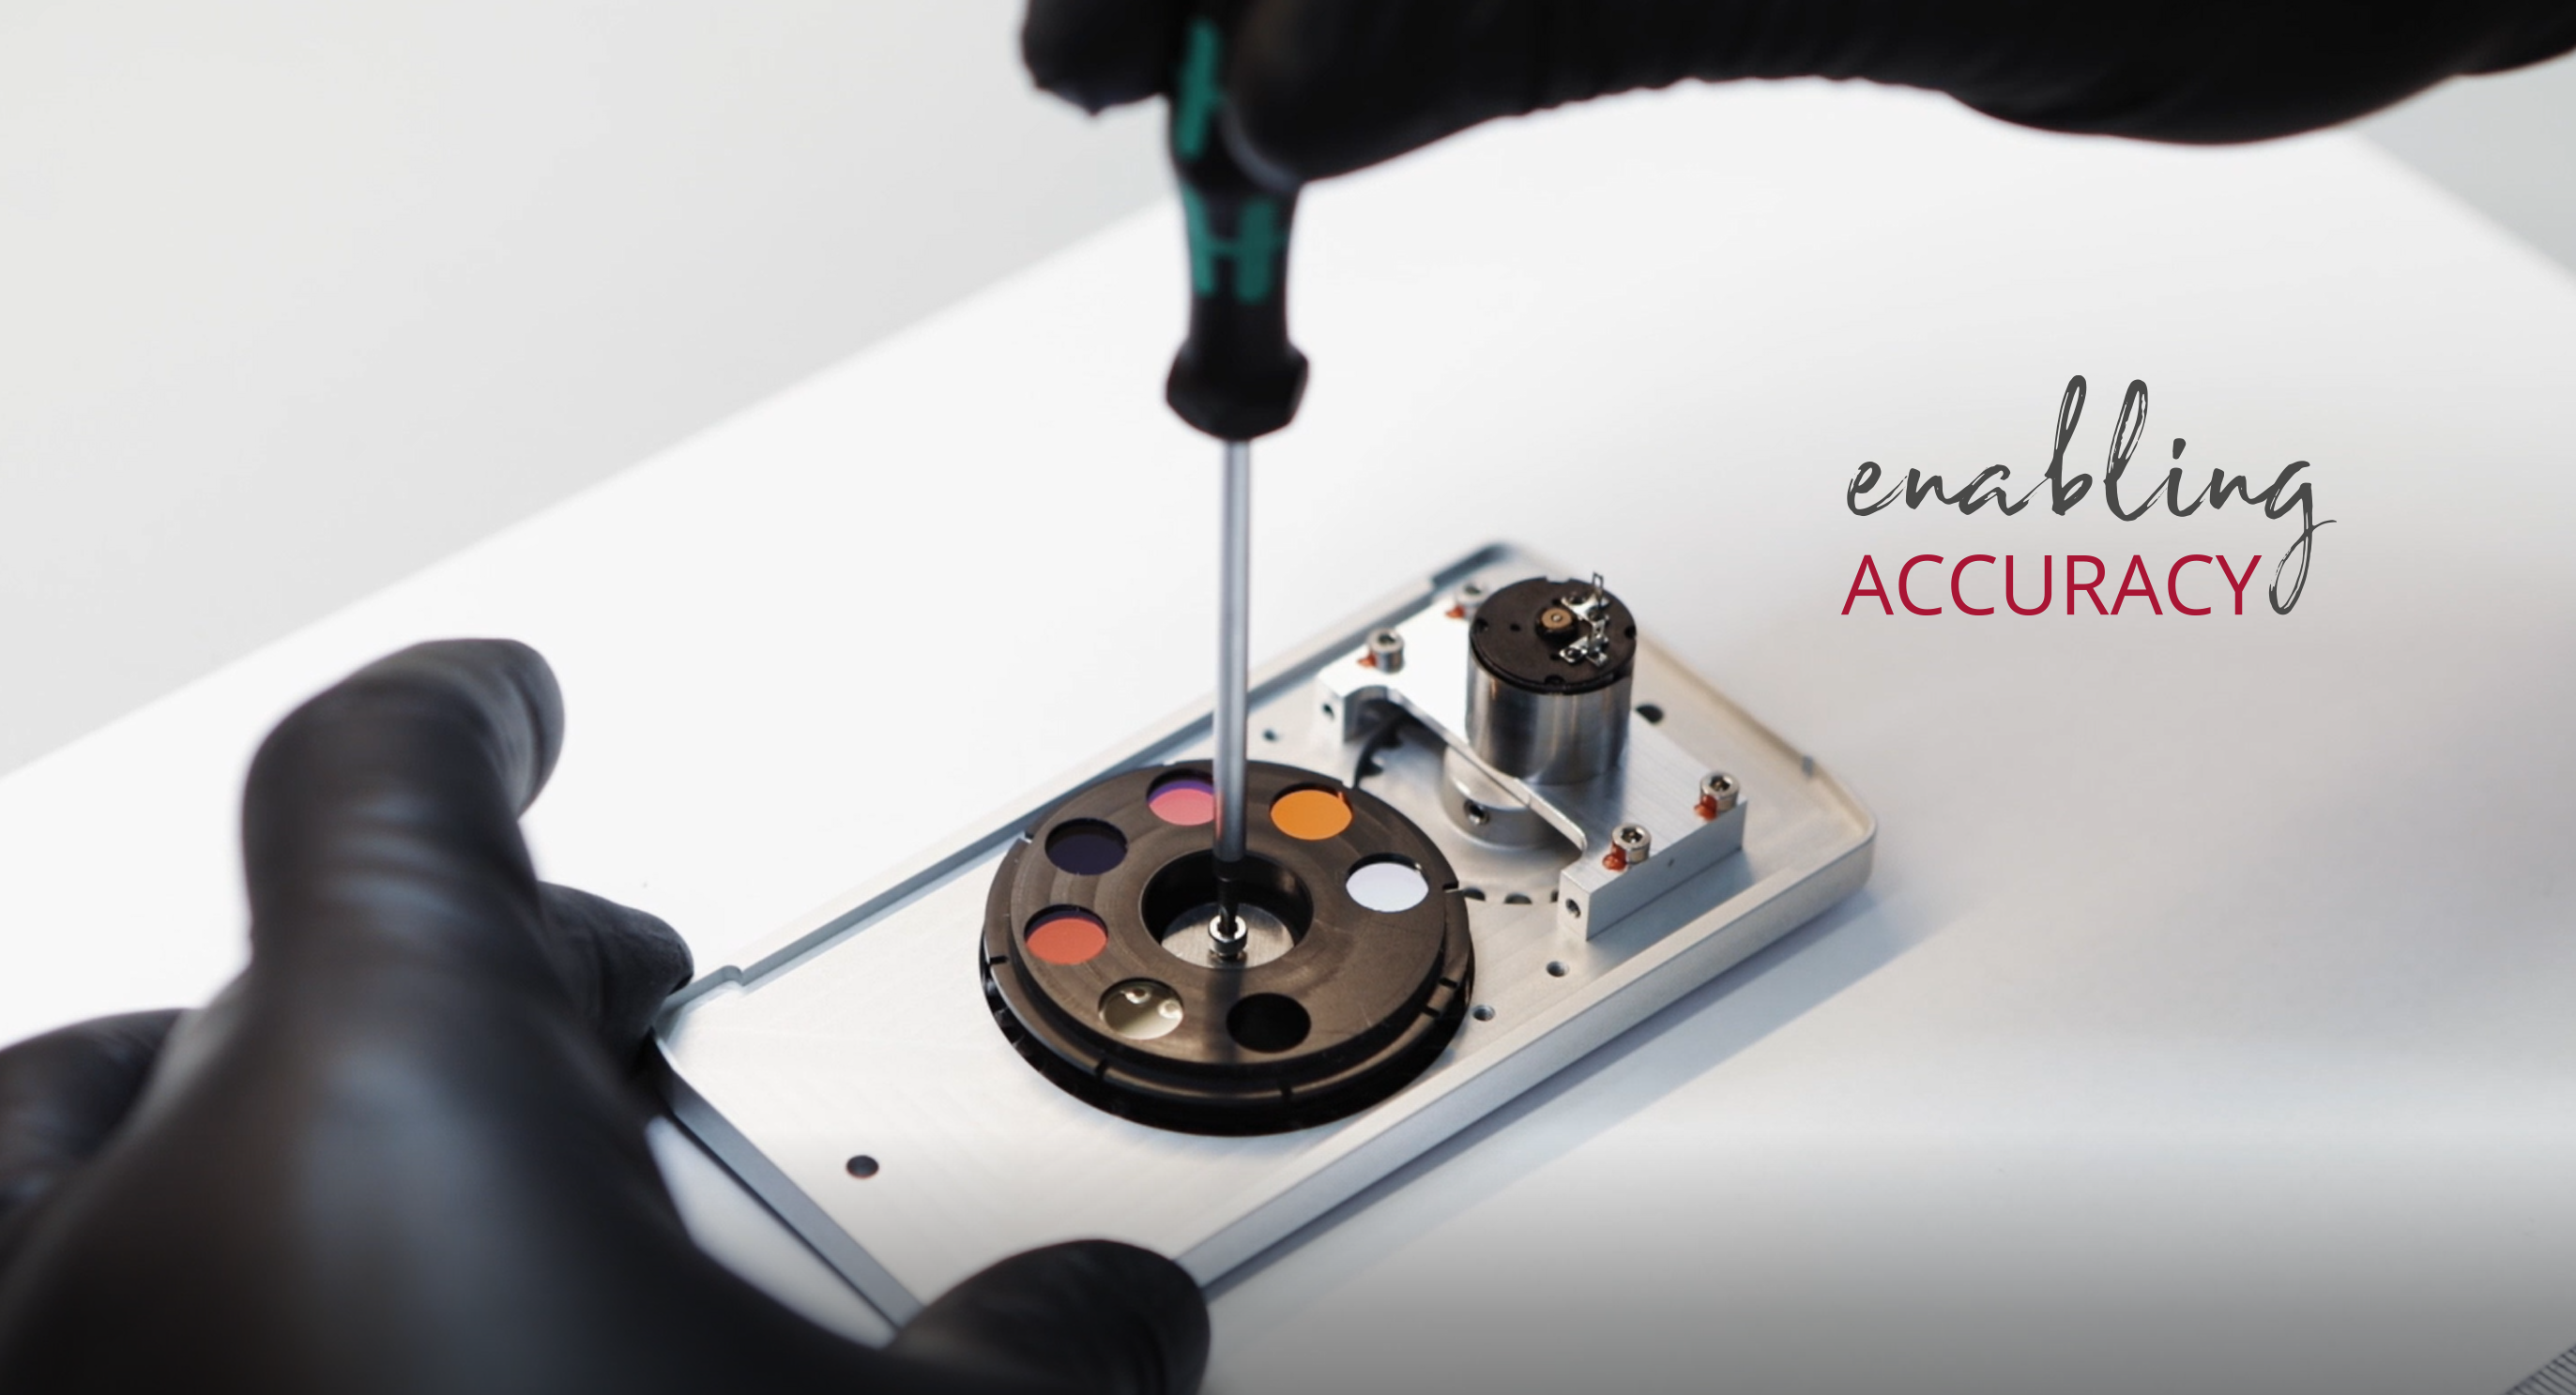
All new Gigahertz-Optik GmbH measurement device calibrations as well as returned goods re-calibrations are carried out and certified in our in-house calibration laboratory by qualified technicians and engineers.

Our calibration and testing laboratory now NEW with expanded customer login
With many new functions - register products online and get access to software updates, access existing calibration certificates and much more
ISO 17025 accredited calibration laboratory for optical radiation test, calibration and electrical measurements
These facts are particularly interesting for you:
-
Measurement uncertainty considerations are based on the latest version of CIE 198. This helps you to be able to make a qualified statement about your measurement result, which you can then pass on - for example to your customers.
-
All calibrations carried out at Gigahertz-Optik are completely and clearly traceable through our DAkkS accreditation (ISO 17025 German Accreditation Body GmbH, D-K-15047-01-00). The in-house DAkkS laboratory meets DIN EN ISO/IEC 17025:2018 without exception.
-
Regular participation in interlaboratory comparisons serves to ensure the quality of our measurements and calibrations and to compare calibration processes with other laboratories. This process serves our daily demand for the highest quality and gives you the security of receiving a first-class product.
-
Metrological traceability - Through regular recalibration of the standards we use, we ensure that our measured variables are always up-to-date and metrological traceable. This is required not only by the current standards, such as the ISO 9000 series of standards, but also by industry-specific standards such as the IATF 16949 of the automotive industry.
-
A complete device history for in-house products is kept on file for at least 10 years to help make tracking and processing of your device maintenance easy and comprehensible.
-
Even with factory level calibrations the same format as our ISO calibration certificates is used. Traceability information and calibration uncertainties are included. A spectral scan of the actual detector response, not a typical response, is included with every new detector.
-
As a special service, a customer login area is available. Here you can find device software and firmware updates.
-
With your on-line LOG-IN data and device serial number you can view and download your calibration certificate. An email reminder to recalibrate your device will be sent to you once a year. If necessary, you can request a calibration appointment on a preferred date directly from us via the online platform (in progress).
-
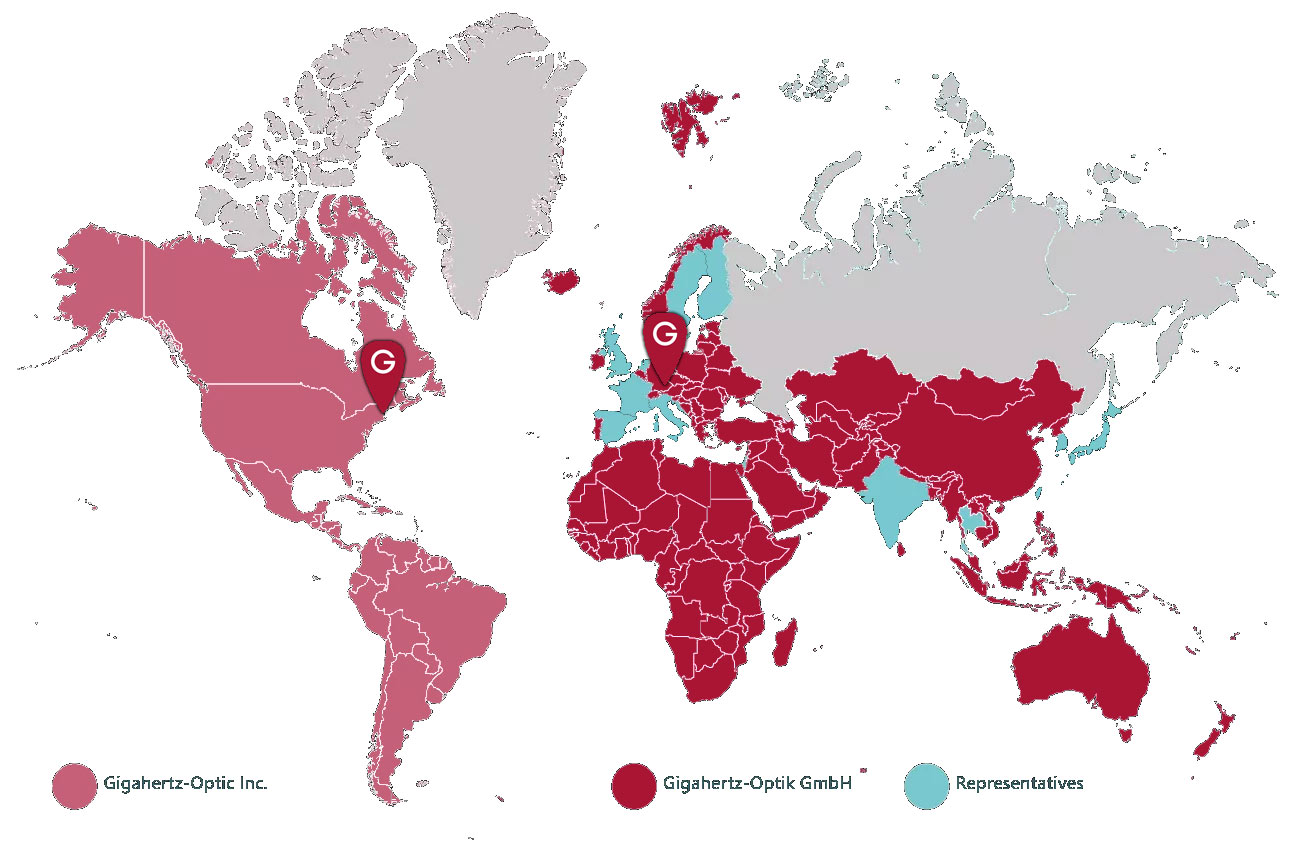
In addition to the main calibration laboratory in Türkenfeld near Munich, we also operate a calibration laboratory in the USA (Amesbury, MA) to enable the shortest possible calibration times.
Complete records of device history, regular recalibration and a high-level optical radiation calibration and relevant electrical parameters laboratory with highly trained people are the basis for your measurement accuracy and precision.
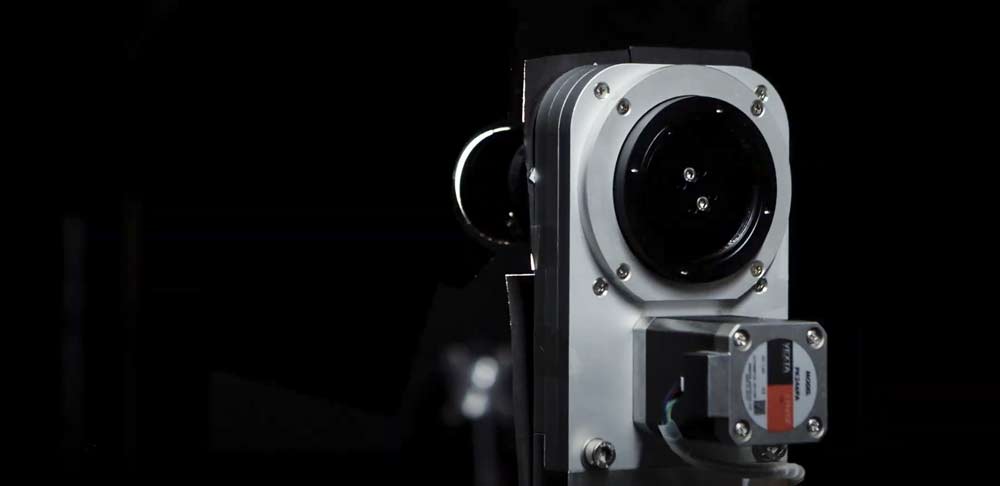
Everything you need
Overview of calibration, testing and contract services
DAkkS accredited calibrations (according to DIN EN ISO/ IEC 17025 calibration laboratory):
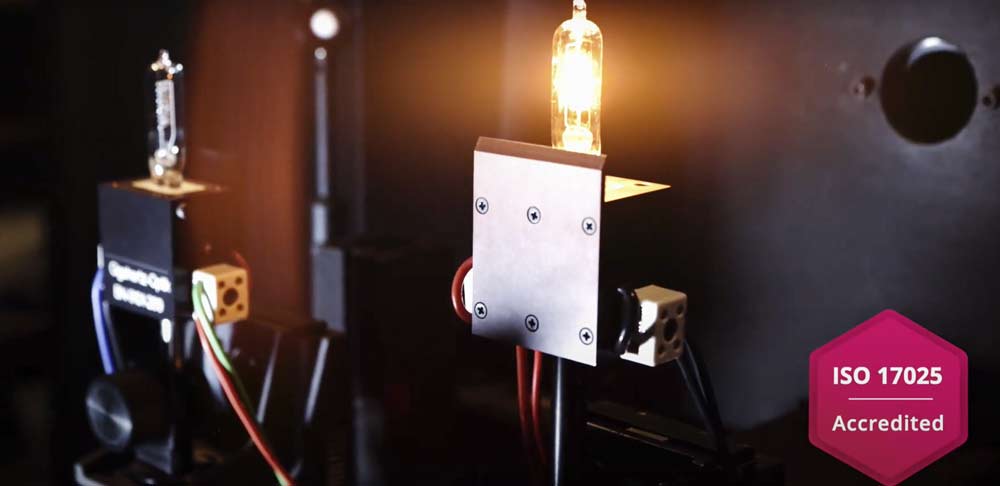
- Spectral irradiance of incandescent and deuterium lamps
- Spectral sensitivity of photodiodes
- Irradiance from broadband radiometers
- DC current of measuring devices
Attachment to the accreditation certificate D-K-15047-01-00 according to DIN EN ISO/IEC 17025:2018
DAkkS accredited tests (according to DIN EN ISO/ IEC 17025 test laboratory):
- Testing of narrowband and broadband radiometers
- Spectral irradiance from spectroradiometers
- Spectral irradiance of light sources
- Illuminance of photometers
- Spectral radiant flux and luminous flux of radiators
- Spectral radiance and luminance of sources/radiators
Factory calibrations and further information:
- All photometric and radiometric quantities traceable to a National Metrology Institute (NMI) such as PTB, NIST, METAS, etc.
- Contract measurements for typical parameters, such as measurement of f1', V(λ) or f2 field of view and many more
- Measurement and assessment of UV, VIS and IR exposures
- Workplace safety risk assessments for artificial optical radiation and much more
Conformity assessments (decision rules) in the calibration laboratory for light measurement technology
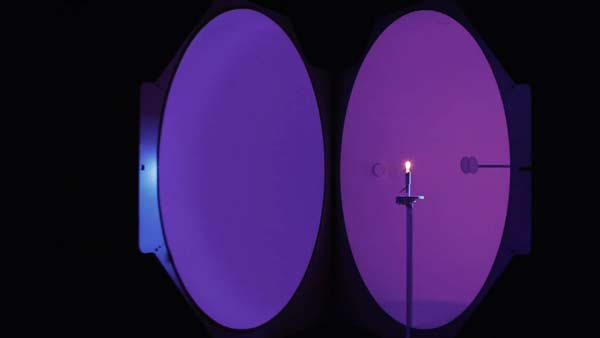
Calibration Laboratory Open In USA
For the shortest possible recalibration lead times and top service, in addition to the German GmH calibration laboratory at our headquarters in Türkenfeld near Munich, we have set up another calibration laboratory at our subsidiary in the USA. Contact our colleagues in the US to use this service if it is geographically advantageous for you.
Thanks to the professional equipment of the calibration laboratory, the highest standard is always guaranteed for your devices
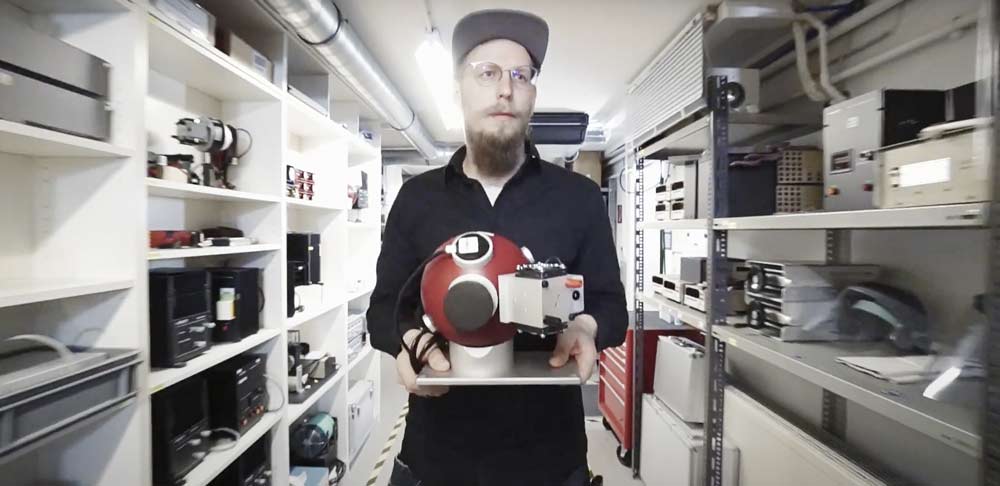
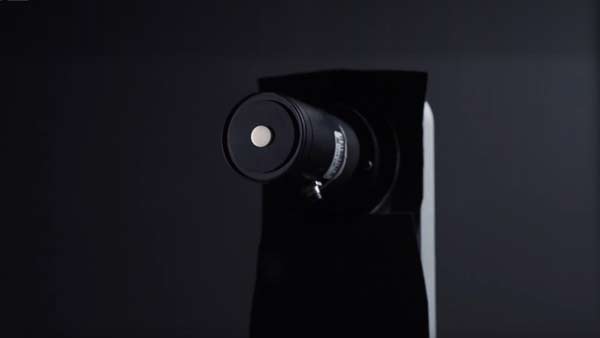
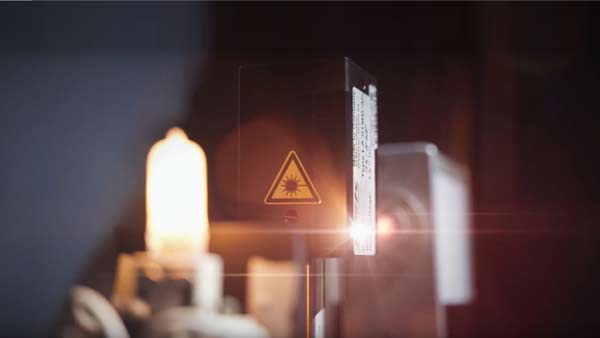
Our more than 300 square meter calibration and testing laboratory is temperature-controlled - one of the most important prerequisites for calibrating optical devices and obtaining the most accurate and precise measurement results. It is fully equipped offering standard calibrations that include irradiance, radiant intensity, radiant flux, radiance, illuminance, luminous intensity, luminance and the spectral variables from UV to IR. This meets the various requirements for calibrating a wide variety of measuring devices from our own production or other manufacturer’s devices.
Extensive laboratory equipment:
Multiple customer statements: "Like a small NMI, impressive!"
10 meter long optical bench
Integrating spheres in various sizes
Detector spheres for luminous flux and radiant power measurement
Homogeneous light sources as luminance and radiance standards
Goniometer for reference measurements of luminous flux and light distribution curves
Climatic chamber for the investigation and optimization of own products
Tunable laser (OPO) for spectral investigation or spectral sensitivity measurement
Double monochromators from UV to IR as well as many of our own BTS2048 for precise and low-stray light calibrations
Most professional UI measurement: multimeters, digital and analog oscilloscopes, frequency generators, 4-channel technology, current sources, etc.
Traceable photometric standards from PTB, Metas or NIST
DAkkS* accredits traceable emitters, detectors and power sources
Light sources for calibration and output test: halogen, deuterium, UV to IR LEDs, white light laser, OPO, 254 nm, 222 nm, etc.
Questions to the calibration laboratory (interview):
What does working with LIGHT mean to you?
Ever since I studied physics, I have been very connected to the subject of optics and optical light measurement technology. Light accompanies each of us in everyday life and is always fascinating for me. Working with light in our calibration laboratory is multifaceted and exciting for me. I learn something new every day and am always enthusiastic about all the possibilities that modern light measurement technology opens up for us.
What is your special task and passion at Gigahertz-Optik?
Together with my team, which consists of engineers and technicians, we work every day to calibrate the devices that we produce in the company and thus make them ready for use for our customers. The high quality standards for our products and the satisfaction of our customers are our daily incentive to deliver the best result. Thanks to the DAkkS accreditation of our calibration laboratory and test laboratory, we can also make our service externally transparent and constantly strive to maintain these standards. Personal ambition and the passion for dealing with measurement technology and the associated possibilities enriches my everyday work for me personally.
Where are the challenges?
I don't call it a challenge, I see it as an opportunity for further development, which is of particular importance to me at a time like today. There are more and more competitors on the market whose products seem tempting to companies or customers who are considering purchasing a light meter for the first time.
However, in order to meet the highest quality requirements, such as those required in sectors such as the pharmaceutical industry, the automotive industry or research in the field of solar energy, the highest quality is also required for metrological traceability of the measurement results in the specific application - and that catches on of development and production in the calibration laboratory.
So what motivates you about it?
To constantly improve ourselves, to maintain our standards and to make our customers' work easier in their own application through our quality standards. Because when the customer receives a perfect device that delivers the most accurate measurement results in accordance with all guidelines and standards without being awkward or complicated to use, we have made our contribution to the customer's success.
What do you want to achieve?
I wish to achieve customer satisfaction through my work. Because we can “measure” ourselves by their satisfaction. Our goal is to make our wealth of experience visible, to develop further, to improve, to maintain standards and to complete products every day that meet the needs of everyone involved.
Thanks to the metrological traceability of our standards by various NMIs, such as PTB, Metas or NIST, and the DAkkS accreditation of the calibration and testing laboratory, we can be sure of achieving this goal.
How does this work?
The calibration and testing laboratory is tested and monitored for its performance and measurement competence through comparison measurements with other laboratories and through interlaboratory comparisons and regular audits. In this way, possible sources of error and potential for improvement can be identified on a regular basis. This gives us the security of always meeting the current requirements and specifications. The regular training of our team also guarantees us and our customers the highest level of professionalism when carrying out our calibration and testing work or recalibration of a measuring device.

